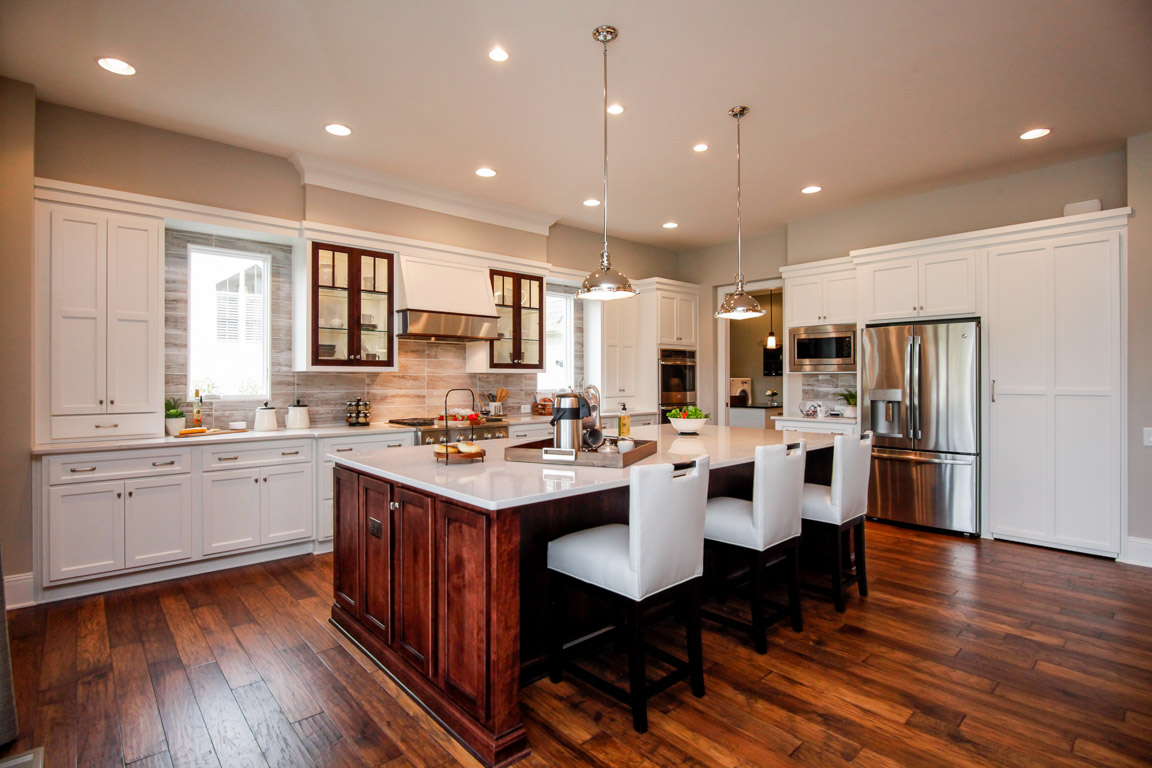
We get it: listing prep is hard, both for the agent and the seller. The cleaning, the packing, the hiding . . . Everything has to look pristine if you don’t want to waste your investment in photos, video or 3D imaging.
But making a home look pristine is a herculean endeavor, especially if kids or pets live there. Maybe that’s why so many agents and homeowners forget crucial parts of the process.
Whether you’re doing DIY imaging or hiring a professional, we want to help you make sure your listing is ready. Based on our experience, here are the Top 10 listing prep items everyone forgets.
Coordinate contractor schedules. No one can take good photos when other contractors are wandering around the property. You’ll either wind up with random people (or parts of people) in your shots, or you’ll get distracted playing traffic cop and overlook some important part of the house. Trust us, we’ve been there. And if those other contractors are photo or video pros? That’s just awkward. So make sure no other workers will be on site during the shoot.
Make sure renovations are complete. Whether it’s something as simple as painting a room or as complicated as redoing a kitchen, you don’t want it in your photos. Most professional photographers won’t charge you for rescheduling at least 24 hours in advance. If your listing is a work in progress, visit the house in person the day before the shoot to make sure the coast is really clear.
Secure all pets (and hide their gear). We’ve heard it before: “Oh, Fido is so friendly. He loves everyone.” But maybe Fido has never encountered a complete stranger on his home turf without his family around. Even if he is friendly, you or the photographer may accidentally let him out into the street, step on his tail, or trip over him as he eagerly tries to win your affection. Moral of the story: for everyone’s safety, make sure all pets are locked up or out of the house.
Check the lights. This is one of the most common listing prep oversights. Lights seem like such a little thing. It’s easy to forget to turn one on, and checking all the bulbs in high-hanging fixtures can be a pain. But make the effort. Burned-out or broken bulbs make buyers wonder what else isn’t working. You’ll also get much better photos if all the lights are on.
Move the cars. Most agents don’t want cars in the listing photos, but in our experience, homeowners often aren’t aware that this is an important listing prep item. Especially if you are not going to be at the photo shoot, make sure the homeowner knows ahead of time to move any vehicles out of sight. Keep in mind that a car may be out of the frame in an exterior shot but still visible from a window. Put any cars – including your own – inside the garage if one is available, or park them down the street.
Hide valuable, sensitive, or private items. Remember that you’re going to share the listing content online, where anyone can see it. Especially if you’re doing a 3D model, buyers will be able to scrutinize every detail of the home. We recommend that sellers pack away valuable artwork, jewelry, weapons, family photos, political or religious items, and anything that shows someone’s name or other personal information.
Tidy up daily clutter. Every agent’s standard is different. Don’t expect your photographer or seller to know whether one shampoo bottle on the counter is one too many. Instead, arrive 30 minutes before your shoot to make sure the seller has tidied any daily clutter to your satisfaction.
Move boxes out of the house. We get it: sometimes listing prep has to coincide with moving prep. But don’t ask your photographer (or let your seller ask you) to wait while boxes are moved from room to room. Instead, plan the photo shoot to take place before the seller packs or after they move the boxes out of the house. If this is not possible, move all boxes into a closet or shed before the photo shoot.
Don’t assume you can “shoot around” anything. Unless you’re prepared to spend a lot of time or money on photoshopping, follow this general rule: if you don’t want it in the photo, put it away, clean it up, or cover it up. And be aware that it’s not usually possible to “shoot around” anything with video or 3D.
Clear the corners. This is the one listing prep item that agents or homeowners are most likely to forget. If you want wide shots of rooms, you or the photographer will need to stand in corners. Do a walk-through before the shoot and make sure all the appropriate corners are clear and safely accessible.
And a final bonus tip: seller prep can be just as important as listing prep! Even if you’re both going to be at the shoot, make sure you’re on the same page. Agree on who will do what to get the home ready, any special features the photographer should highlight, and any other decision points about capturing the home. Make sure the homeowner knows how long the shoot will take, and set expectations about staying out of the way. You’ll reduce the chance of surprises and increase the chance you’ll get the marketing content you need to knock this listing out of the park!

